
AppleInsider might earn an affiliate fee on purchases made by way of hyperlinks on our web site.
The macOS Finder gives quite a lot of simple server connection choices. This is the way to use the Connect with Server window in Finder to simply mount and use distant community volumes as in the event that they have been native drives.
Apple’s macOS gives one of many best server connection interfaces of any main working system. You’ll be able to connect with LAN servers, VPN servers, FTP/SFTP, SFTP over HTTP, net servers, Home windows SMB shares, NAS, some cloud servers, WebDAV, and others. The Connect with Sever window even permits you to view distant desktops utilizing the VNC protocol.
Most often, as soon as linked to a server, the Finder shows a brand new window with its contents simply as if it was an area storage quantity.
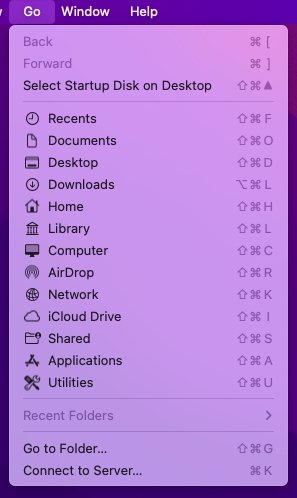
In all instances to get began, in Finder click on the Go menu and choose “Connect with Server…” on the backside of the menu. This opens the Connect with Server window. You enter the server handle to hook up with within the high area on this window.
Connecting
The best and first instance is to hook up with a LAN server in your native community. The server should be utilizing one of many protocols talked about above.
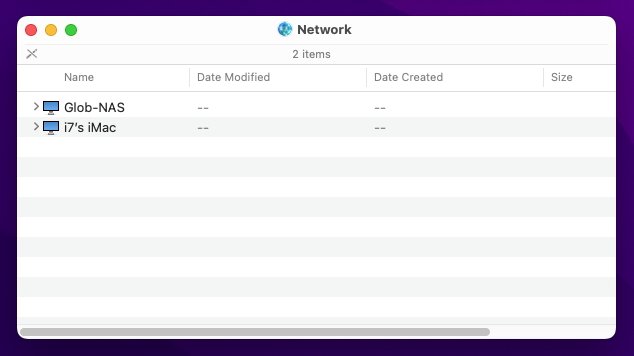
Click on the Browse button within the Connect with Server window. This opens a Finder window referred to as “Community” which shows all identified native servers the Mac can connect with in your community. Your personal Mac can also be listed – often known as localhost in networking parlance. Double-clicking your Mac’s identify within the window will present a listing of all mounted storage volumes and any shared folders in your Mac.
You too can open the Community window instantly by deciding on “Community” from the Go menu or urgent Command-Shift Okay
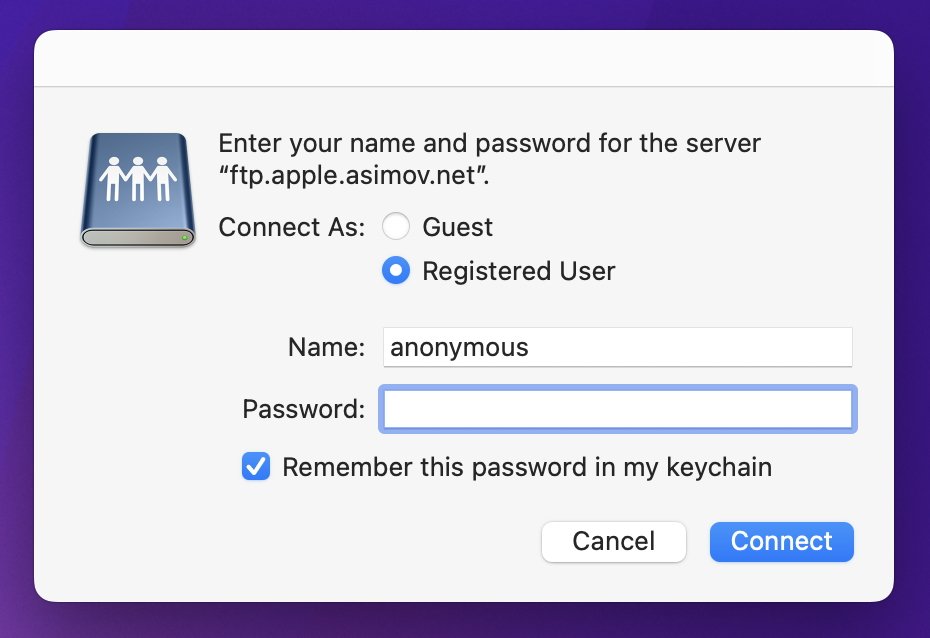
For all different native networked servers, you can be offered subsequent with a login window asking for the username and password of an account on that server, or Visitor. You too can save your password domestically by checking the Bear in mind this password in my keychain” checkbox so you will not should enter the password subsequent time.
Within the case of nameless FTP servers, you needn’t enter a password.
As soon as authenticated, a Finder community quantity icon will seem on the desktop, and a brand new window will open displaying the server’s file system or quantity as if it was an area drive. You’ll be able to carry out most operations on the community as in the event that they have been an area storage gadget — assuming you have got the proper entry permissions.
There’s additionally a “Disconnect” button which unmounts the server quantity from the desktop when clicked. You too can unmount the server quantity by right-clicking or Management-clicking on it and deciding on Eject from the Finder’s popup menu, or by dragging it to the Trash within the Dock.
For distant servers you should use any of the community protocols talked about above. To take action, enter the protocol abbreviation adopted by “://” within the high area within the Connect with Server window adopted by the identify or IP handle of the distant server, then click on the Join button.
If the server makes use of a customized port for a specific protocol, enter it on the finish of the server’s handle preceded by a colon. Listed below are a couple of examples:
- ftp://ftp.apple.asimov.internet – Normal FTP connection.
- https://ftp.apple.asimov.internet/ – Identical as above however FTP over safe HTTP utilizing Safe Sockets Layer.
- https://sampleserver.somenetwork.com:20821 – A fictional net server at area somenetwork.com which listens on port 20821 for incoming HTTP connection requests.
- smb://192.68.0.1 – Deal with of an area Home windows SMB share on an area networked Home windows laptop.
- vnc://192.68.0.76 – Deal with of an area laptop utilizing any OS working the usual VNC screen-sharing protocol.
- https://obtain.information.apple.com – A normal HTTP+SSL net connection, assuming the server has some type of file sharing enabled – or a WebDAV collaborative server.
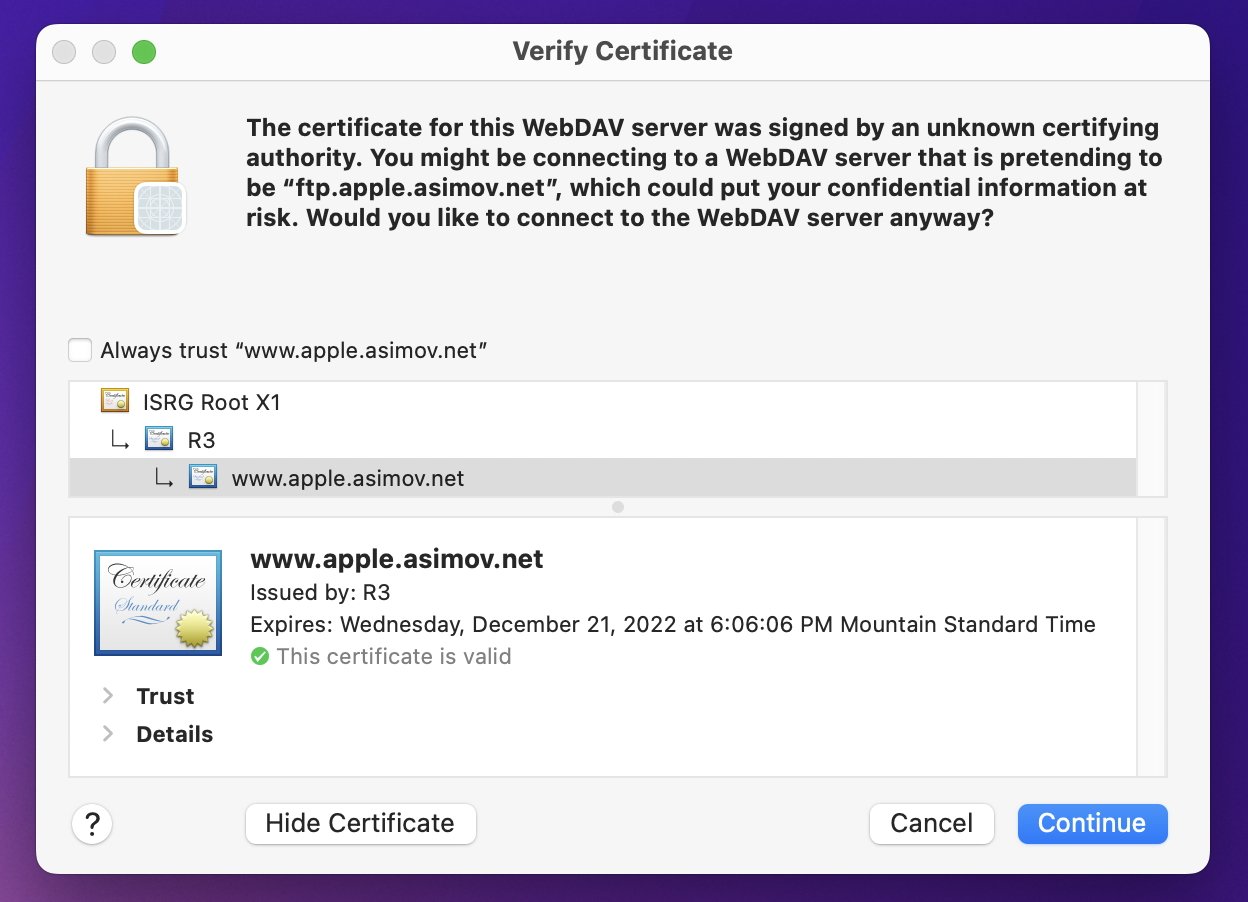
Within the case of HTTP servers additionally working WebDAV, you might get a certificates warning informing you your Mac thinks the server could also be pretend or masquerading as a WebDAV server. When you’re certain the server’s legit, click on the Proceed button.
You too can view particulars of the server certificates and at all times belief it sooner or later by clicking the “All the time belief” checkbox after clicking the “Present Certificates” button.
As soon as a server login succeeds, a brand new quantity and Finder window will seem in your desktop. Within the case of our ftp://ftp.apple.asimov.internet instance:
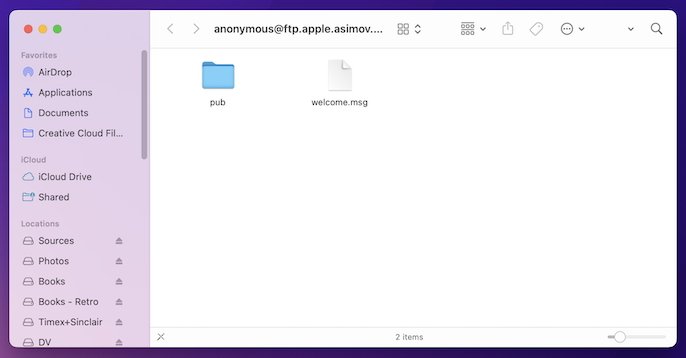
For a cleaner, easier-to-read record view within the new server window, press Command-T, then Command-2 in your keyboard. This switches to record view and hides the window’s toolbar. You now have a window into the distant server’s file system. You’ll be able to carry out most Finder operations on the server’s quantity simply as you’d on any native drive’s quantity. However permissions might or is probably not restricted.
One other fast tip to avoid wasting time: as soon as a server quantity is mounted, you can also make an alias to it in your Desktop or to any disk or folder by deciding on the server quantity on the Desktop, holding down Command-Possibility, after which dragging to the Desktop or different drive location. This produces an alias file with the identical identify because the server quantity. To remount the amount later, merely double-click the alias.
Within the case of a server working VNC, as soon as linked, the hidden macOS Display Sharing app will launch displaying the distant laptop’s desktop. You’ll be able to swap out and in of the Display Sharing app to different Mac apps simply as you’d another Mac app. To connect with one other Mac by way of VNC it should have Display Sharing turned on in System Settings.
Window redraw velocity will likely be depending on the velocity of your community connection.
To terminate the VNC connection, merely click on the Display Sharing home windows’ shut button.
VNC servers could be configured in quite a lot of methods and should or is probably not configured to require a password – wherein case you will first be prompted to enter it as you probably did within the above FTP examples.
Company or VPN Connections
Distant connections into company VPNs aren’t a lot completely different from above, until your organization makes use of a customized firewall equipment and/or a customized community protocol. Most often, as soon as your Mac’s VPN connection has been established, all different normal protocol connections must be the identical as native or web connections.
The one normal distinction, if it exists in any respect, is a customized port quantity, which we lined above, or in some instances a radio or satellite-controlled distant key token. VPNs present the added benefit of encrypting most community communications.
Favorites
For any server you enter within the Connect with Server window, click on the small “+” button within the window’s decrease left nook so as to add it to the Favorites record. The subsequent time you open the window, Favorites are displayed within the record. Merely double-click one to start out a brand new connection.
To take away servers from the Favorites record, choose which servers you need to take away, then click on the “-” button.
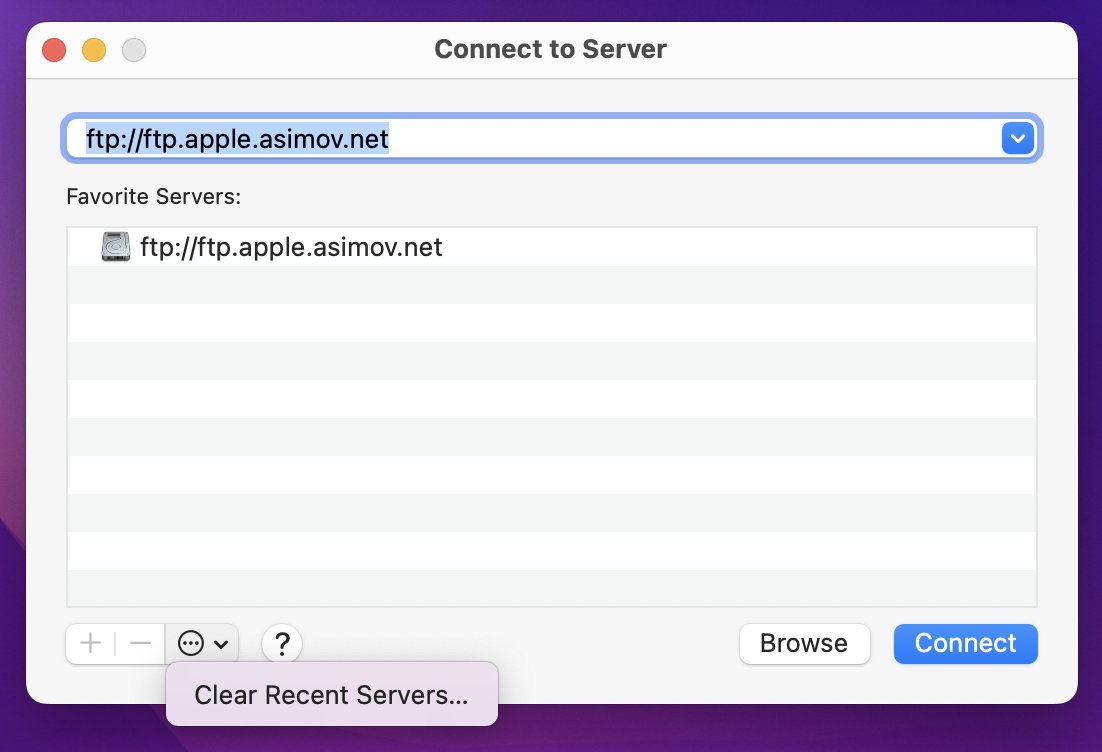
You too can view all current servers by clicking the small popup menu arrow icon on the proper facet of the server handle area. To clear the current servers record, click on the small “…” with a circle icon subsequent to the “-” button and choose “Clear Latest Servers” from the popup.
It’s doable to hook up with servers that use overseas file techniques which MacOS would not perceive — assuming you have got the proper Third-party Mac networking software program and extensions put in. However, we’ll deal with that in a later article.